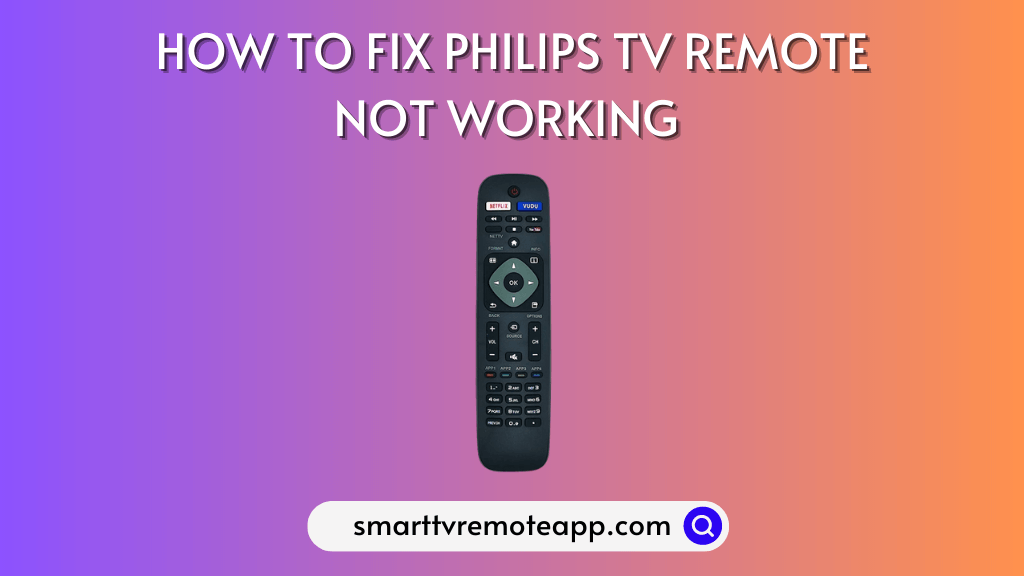
The remote not working is an annoying problem with my Philips TV. I tried basic things like changing the batteries and restarting the TV, but the remote didn’t work. When I searched for ways to troubleshoot the remote, I learned a handful of fixes on the Philips TV Customer Support website. Those workarounds helped me a lot in fixing the Philips TV remote issue.
In this article, I have explained the troubleshooting methods to fix the Philips TV remote problems. Also, I have described the reasons that cause the remote dysfunction. It will help you prevent the issue from happening again.
Why is My Philips TV Remote Not Working
Your Philips TV remote may not work for the following reasons.
| SCENARIO | REASONS |
|---|---|
| 1 | Because of obstructions between the TV and the remote |
| 2 | The remote batteries may be weak, or it is no longer functioning |
| 3 | Due to some physical damages, the hardware may be faulty |
| 4 | If the remote gets unpaired due to a technical glitch in the firmware |
| 5 | The remote buttons may get stuck because of a speck of dirt |
| 6 | If the IR emitter on the Philips TV remote is defective |
DIY Fixes for Philips TV Remote Not Working
If you face any issues with the Philips TV remote, try the steps below to make the remote work.
Remove Dirt on the Remote
Sometimes, the Philips TV remote buttons may be filled with dirt or smudges. In such cases, the buttons will not work even after a hard press. It might be one reason why the Philips TV stopped working. To resolve this issue, clean the dirt on the remote using a cotton cloth dipped in 99% isopropyl alcohol to wipe the dirt. If the Philips 4K TV remote sensor is not working, clean the sensor and check if it works.
Check the Batteries of the Philips TV Remote
The basic thing that we should do before starting to troubleshoot the remote is to check the battery’s condition. Because if the battery does not have sufficient charge, the remote might not function properly. So, in this case, you have to replace the old batteries with a new pair. Now, check if the remote is working fine.
#1. Grab the Philips TV remote and put it in the upside-down position.
#2. Remove the cap from the battery compartment.
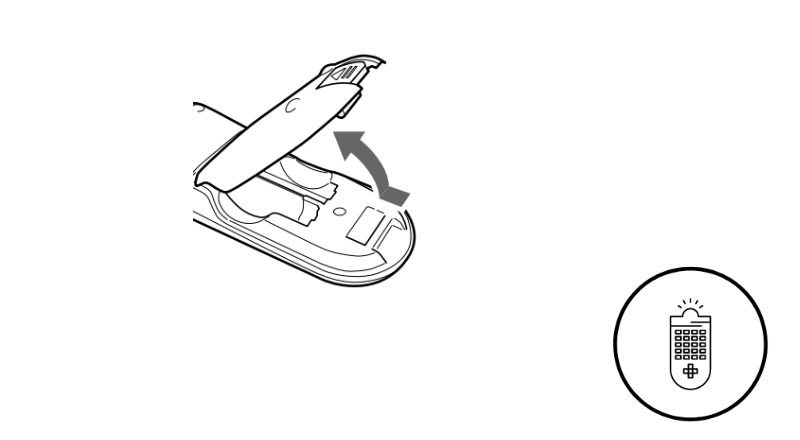
#3. Eject the old batteries and replace them with new ones.
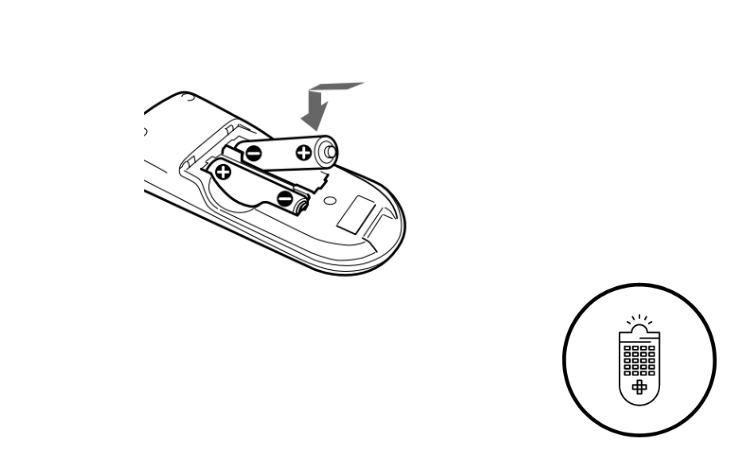
#4. Ensure the batteries are correctly placed on the positive and negative sides.
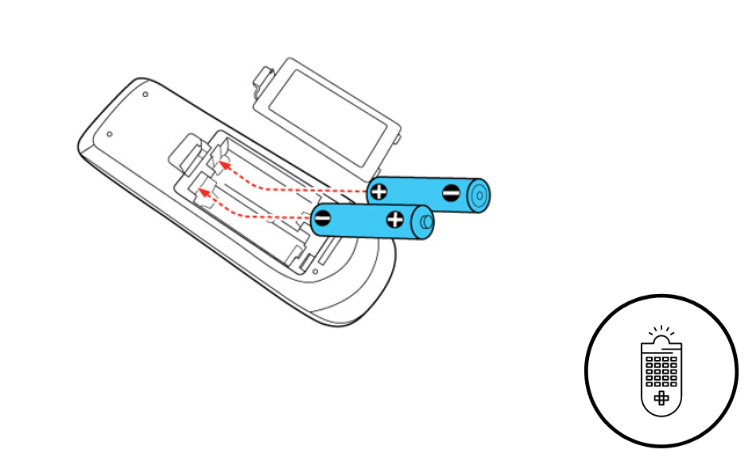
#5. Close the cap of the battery compartment.
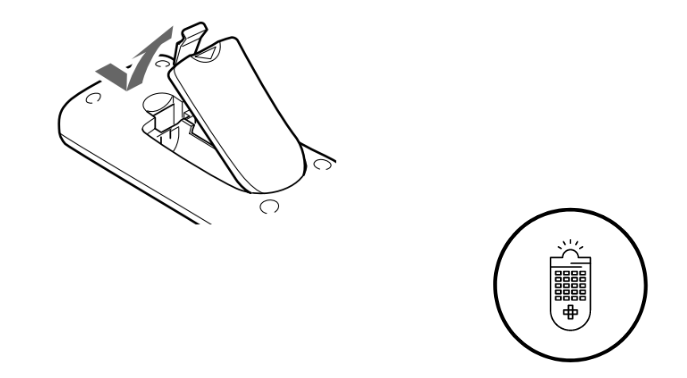
#6. Now, use the remote with your TV to check the functionality.
Note: If the Philips TV remote is blinking orange, it indicates that there is a signal interference. Clear the obstructions and turn off the bright lights to fix the issue.
Re-Pair the Philips TV Remote
Suppose your remote gets unpaired by itself; there is no need to worry. You can re-pair the remote with the TV using these steps.
Philips Android TV
#1. Long press the Home and OK buttons simultaneously for a few seconds.
#2. You can see the Pairing notification on the TV screen.
#3. The remote will get paired with your Philips Android TV.
Philips Roku TV
#1. Ensure to insert the batteries and long-press the Pairing button below the battery compartment for a few seconds.
#2. The green light will be flashed, which shows that the pairing has been initiated.
#3. Similar to Android TV, the pairing window appears on the screen.
#4. When the remote connects to your Philips Roku TV, you can see the remote’s battery status.
Note: It is possible to connect your Philips TV to WiFi without a remote with the help of remote apps.
Pair the Philips Google TV Remote
If the Philips Google TV remote is not working, you can pair the remote by visiting the settings. For this process, use the IR blaster remote app as a virtual remote to access the TV settings.
1. Go to Settings and click Remotes & Accessories.
2. Click Pair accessory and select the Philips Google TV remote to pair it.
3. If the remote is not shown, enable pairing mode on the Philips Google TV remote.
4. Press the Google Voice (colored circles) and Vol- buttons and hold for 3-5 seconds.
That’s it. You have turned on Pairing Mode. The remote is ready to pair and use.
Note: If the Philips Google TV remote doesn’t blink to indicate pairing, reset the remote. To do so, press the Options and Vol- buttons at a time for 3-5 seconds. If you release these keys, the indicator light on the remote will flash.
Power Cycle the Remote
If your Philips TV remote is not pairing, try the power cycling method to fix the issue.
#1. Remove the cap from the battery compartment.
#2. Take off the batteries on the remote.
#3. Press all the buttons on your remote.
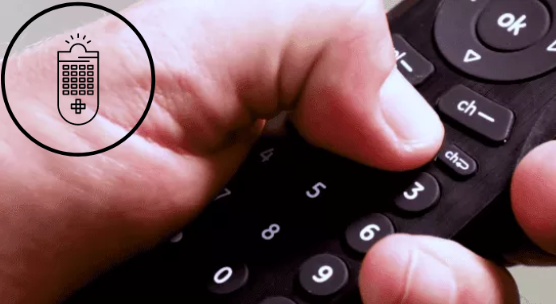
#4. Finally, insert the batteries and check the remote with your TV.
Power Cycle Philips Smart TV
You can try power cycling your Philips Smart TV and check whether the remote controls TV actions.
#1. Turn off your TV by pressing the power button.
#2. Unplug the TV from the power cord and wait for a few minutes.
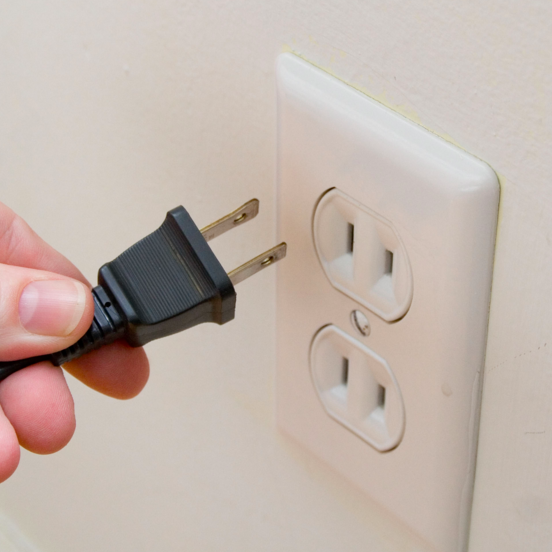
#3. Again, plug the power cord into the power supply and turn on the TV.
#4. Now, check if you can control the TV using that remote.
Test the Remote’s IR Emitter
Check the remote control status even after changing the new batteries. Many Smart TVs take a few minutes to load the software when you turn on the TV.
#1. Turn on your Philips TV. Run the Camera app on your phone and point the remote before the camera.
#2. Press any button on your remote.
#3. If the Infrared LED light flashes for a second, the remote works fine. So, we can confirm that the issue is with the TV receiver.
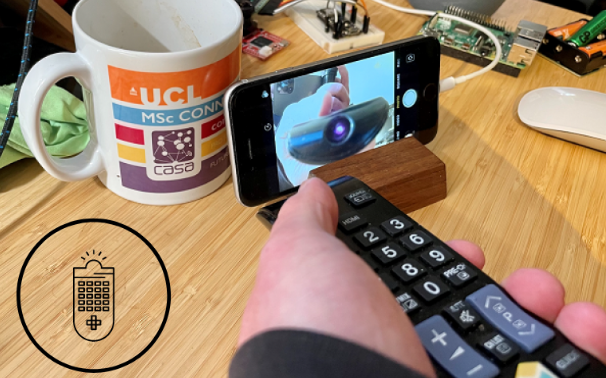
#4. If you don’t see any light blinking, you have to get a Philips TV replacement remote controller.
Resolve the Interference of the Remote
Any interference or obstacles in the path between the IR and the receiver would prevent the remote from controlling the device.
#1. Remove the hindrance on the path between the remote and the TV.
#2. Turn off the lights that are too bright nearby, like fluorescent bulbs. The bright lights may harm the IR signal of the remote.
#3. Remove the electronic signal transmitters near your Smart TV.
Now, check your TV remote is working fine.
Restart or Reset the Philips TV Remote Control
Sometimes, the remote will not work even after changing the new batteries. If your Philips Smart TV is not responding to your remote, you have to restart the TV remote.
#1. Eject the batteries from the remote.
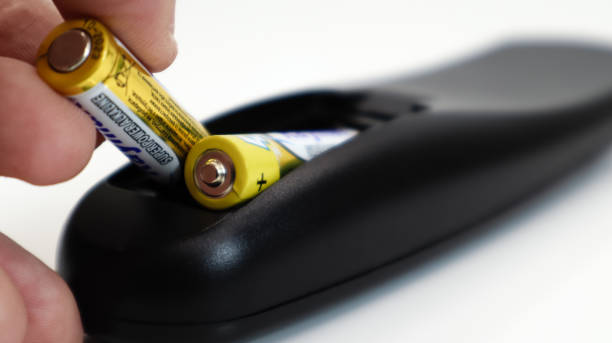
#2. Press the buttons randomly for a while.
#3. Reinsert the batteries and check if the remote is working fine.
Note: You can soft reset the remote when the Philips TV QWERTY keyboard is not working.
Restart the Philips Smart TV
Rebooting Philips Smart TV will refresh the remote and help you recognize your Smart TV while pairing.
Philips Android TV
If your Philips Android TV remote is not working, you can reboot it to make it work.
#1. Turn on your Android TV and head to Settings.
#2. Select More Settings and choose Device Preferences.
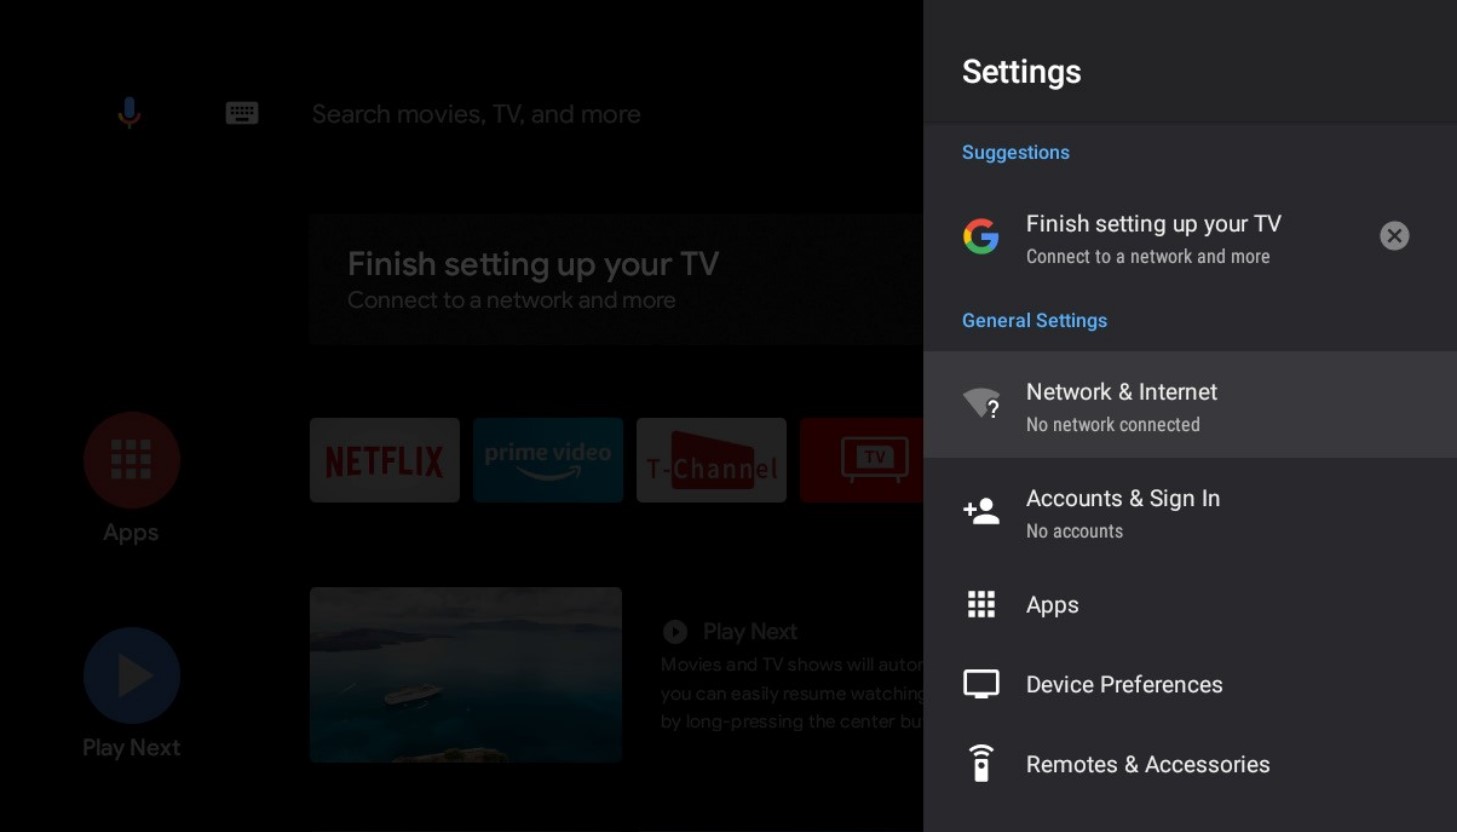
#3. Further, select About and hit Restart.
#4. Select Restart on the confirmation box to reboot your TV.
Philips Roku TV
If the Philips Roku TV remote is not working, restart it immediately to fix technical problems.
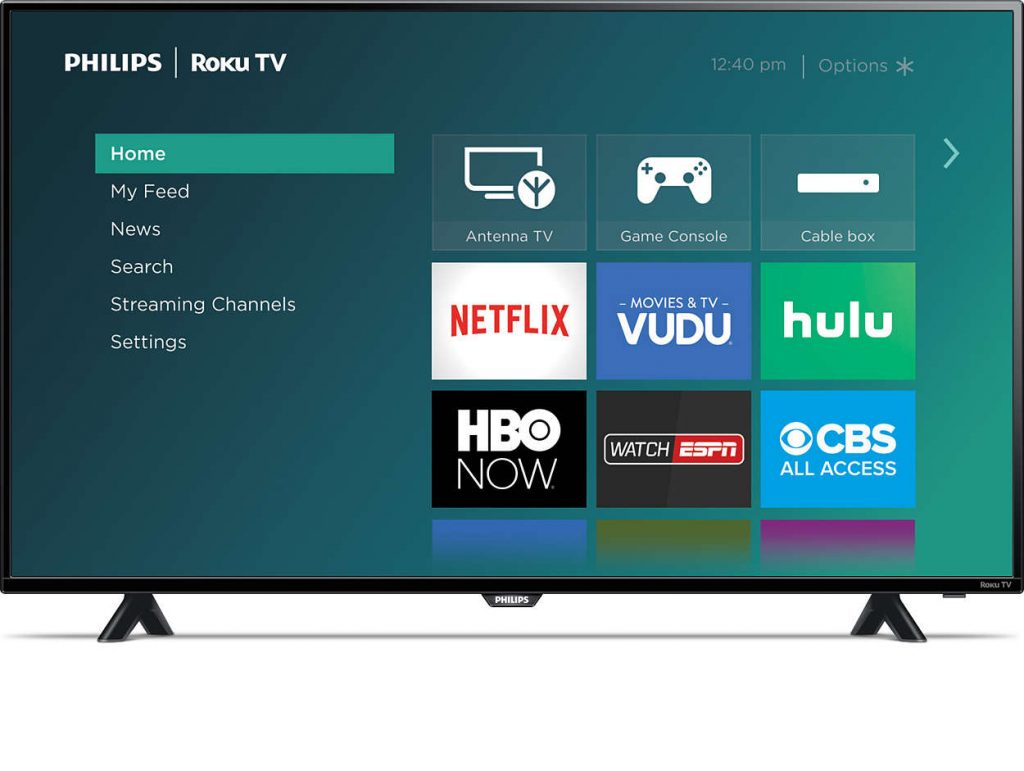
#1. Go to Settings on your Roku TV.
#2. Head to System and click Power.
#3. Under Power, select System Restart.
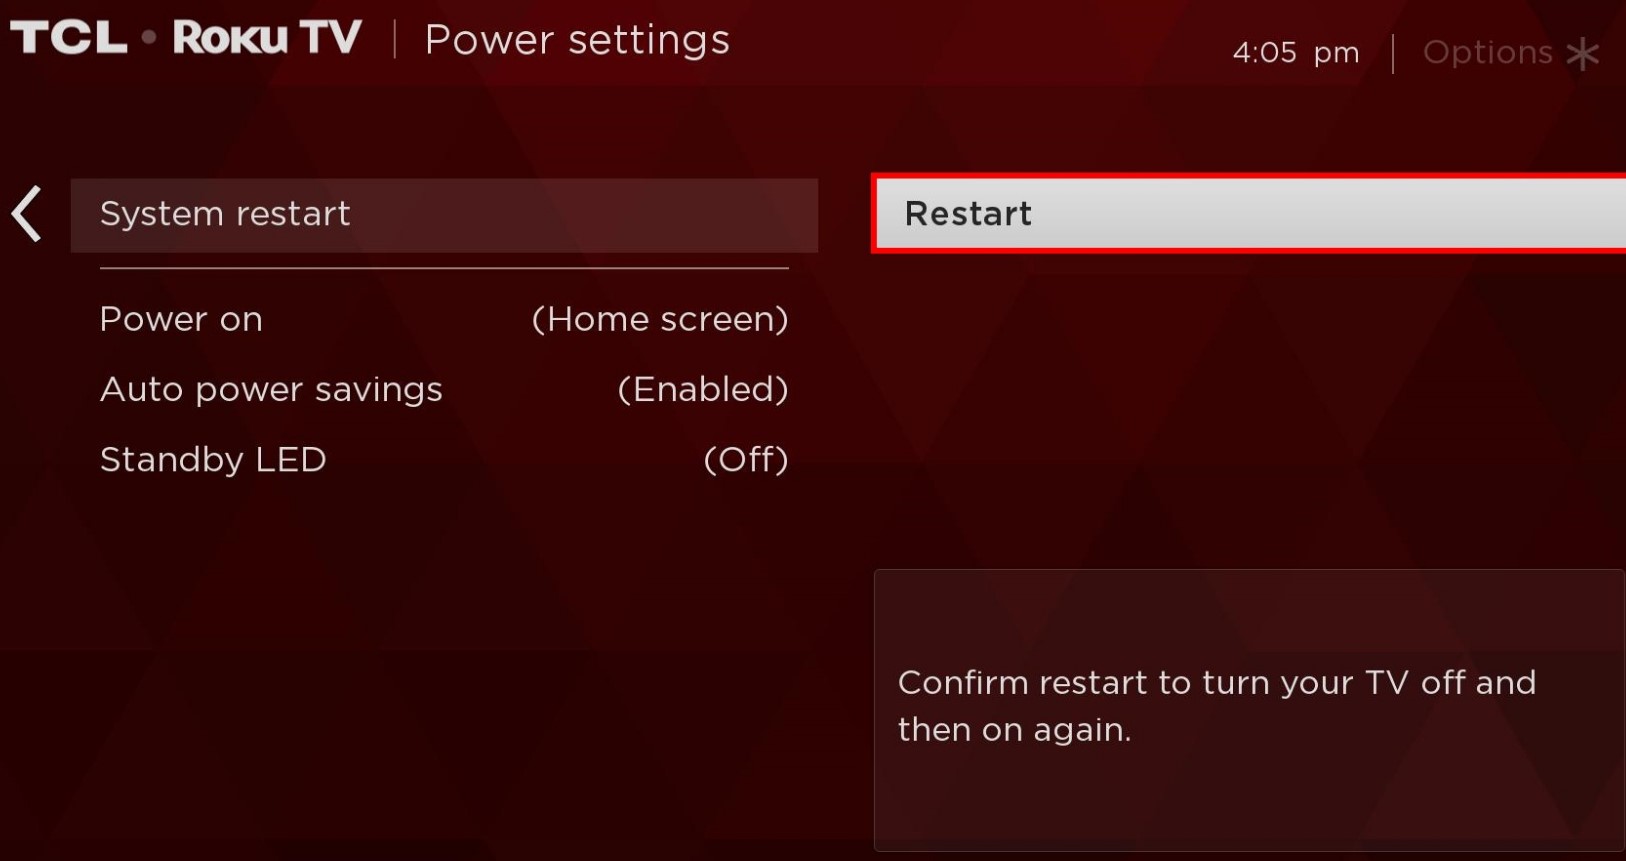
#4. Select Restart on the next screen.
#5. Click OK to initiate the restart process.
Contact Philips TV Support
If the Philips TV remote is unresponsive after trying these fixes, contact Philips TV Customer Support. Otherwise, call 833.978.3323 to speak to a customer support executive and explain the issue. If your Philips TV is under warranty, they will replace the remote for free. Otherwise, you can order a replacement remote for your Philips TV.
Alternative Ways
If the buttons on the Philips TV remote are not working anymore, you can try these alternate ways to control the TV.
Use the Philips TV Remote App
Whether you have ordered a new replacement remote or you don’t want to rely on the physical remote controller anymore, you shall use the Philips TV remote app to control the TV. This way, you can easily use your smartphone to control the TV. If you own a Philips Roku TV, use the Roku Remote app to control the TV. Both remote apps include buttons to increase or decrease the volume, change channels, turn on the TV, etc.
Use Philips Universal Remote
If the alternative remote apps are not working, you can buy a Philips Universal remote from online stores. With it, you can control any of the Philips TVs. However, you can find a lot of Philips Universal remotes in the online market. However, to use a universal remote, you need to program the remote with Philips TV remote codes.
FAQ
If the voice remote is dysfunctional, use the Philips TV remote app as an alternative.
Remove the batteries from the Philips TV remote control. Press and hold all the remote keys for 3 seconds. Put the batteries back in and test if it works.
It is due to weak batteries, blockage of signals, defective IR emitter, etc.
Press the SOURCES button for 3 seconds. Optionally, go to Settings → Wireless and networks → Remote Control → Pair remote control → Follow the on-screen guidelines.
