
Key Notes
- Press the Physical Buttons on Philips TV to connect to WIFI without using a remote.
- Plug in a wired or wireless keyboard/mouse to connect Philips TV to a WIFI network.
- Connect Philips TV to the internet by connecting your TV with an ethernet cable.
- Using Philips TV Remote App: Connect Philips TV and smartphone to the same WIFI network → Open the Philips TV Remote app → Select your Philips TV → Press the Home button → Tap Settings → select Wireless and Networks → Wired or Wireless → Connect to Network → Wireless → Select your WIFI network.
- Install the Remote for Philips Smart TV app on an IR-supported smartphone to control your Philips TV.
- You can set up Google Assistant on Philips TV and connect the TV to WiFi using Voice commands.
Sometimes, the Philips Smart TV remote may stop working, when it gets damaged physically or suffers from internal glitches. In such cases, you might think it is impossible to connect a Philips Smart TV to WiFi without a physical remote. Fortunately, there are some alternate ways to control your Philips TV and connect it to a wireless network in less than a minute.
How to Connect Philips TV to WiFi Without Remote
Here are the alternate ways to connect your Philips TV to WiFi when the remote isn’t working.
Connect Philips TV to WiFi Via TV Panel Keys
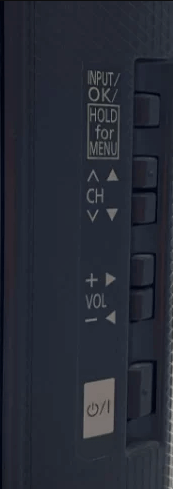
Nowadays, it is hard to see panel buttons on most smart TVs. Luckily, Philips TV offers physical buttons to turn on/off your TV, change TV channels, or adjust the volume. Moreover, you can use these buttons to connect your Philips TV to a WiFi network. Before that, make sure to disable the child lock feature.
Steps to Disable Child Lock on Philips TV
1. On the TV panel, press and hold the Power button for 5 seconds to turn off the child lock.
2. Unplug the TV cord from the source and wait for 60 seconds.
3. Plug the cord back in to restart your Philips TV.
📌 This method is supported on Philips TV models with separate Menu, Channel, and Volume keys. In case your Philips TV has only a Power and Reset button, it is impossible to connect your Philips TV to WiFi using physical buttons.
Here are the steps to connect Philips TV to WIFI using the TV panel keys.
1. Press and hold the Volume Up and Volume Down buttons together or press the Menu button.
2. Use the P+ and P- keys to scroll through the options.
3. Press the Volume Up and Volume Down keys to view the drop-down options.
4. Scroll down, click on Settings, and select Wireless and Networks.
5. Choose Wired or Wireless → Connect to Network → Wireless.
6. It will search for WiFi networks nearby.
7. Select your WiFi network and enter the password using the CH+ and CH- buttons.
8. Click on Finish once the WiFi is connected.
9. To close the window, press the Volume keys simultaneously.
Note: It is possible to turn on Philips TV without a remote when you cannot turn it on with the remote controller.
Connect Philips TV to WiFi using Keyboard or Mouse
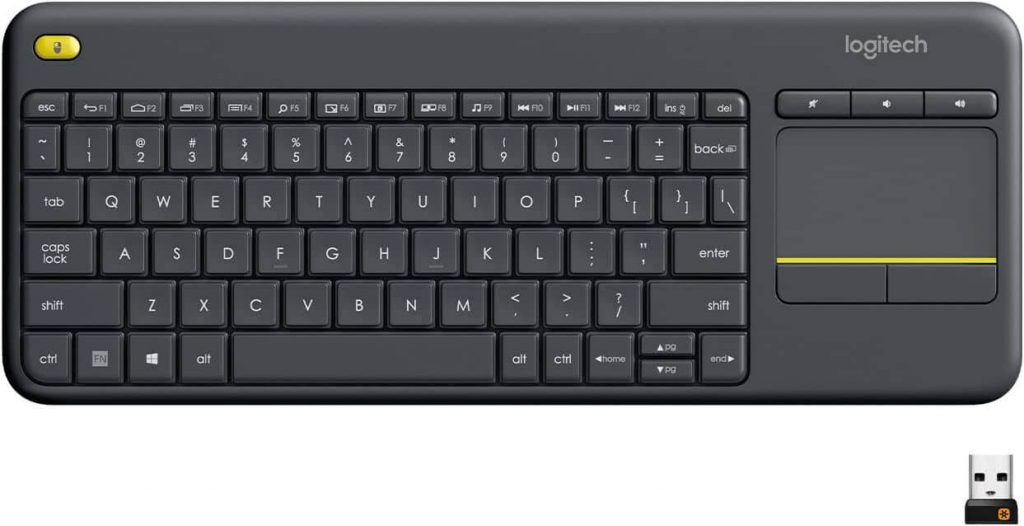
Philips TV has dedicated USB ports to connect any wired or wireless keyboard/mouse. Therefore, you can easily control your Philips TV and connect it to any WiFi network you want. Simply plug the wireless USB adapter into the TV’s port and start using it. It is recommended to use Logitech K400 Plus wireless keyboard that features a built-in touchpad for easy navigation.
Connect Philips TV to Internet Using Ethernet Cable
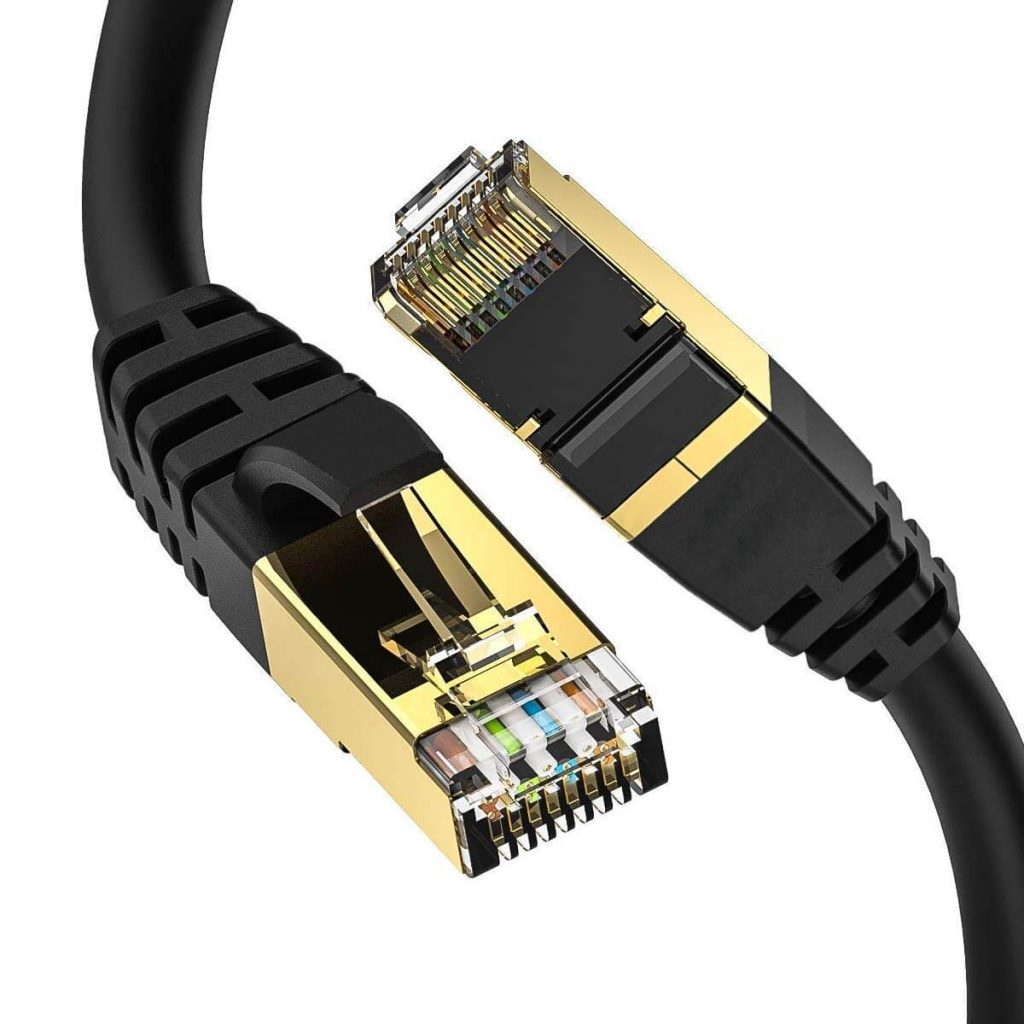
Alternatively, connect your Philips TV to a wireless router using an ethernet cable. Connect one end of the ethernet cable to your Philips TV and the other end to a router. It is recommended to use DbillionDa Cat 8 Ethernet cable, which delivers high-speed bandwidth and is suitable for all Philips TV models. Once the cable is connected to the port, go to Settings → Wireless and Networks → Wired or Wireless → Connect to Network → Wired Connection.
💡 Make sure to use a keyboard/mouse or remote app to control Philips TV and navigate through the menu.
Connect Philips Smart TV to WiFi Using Philips TV Remote App
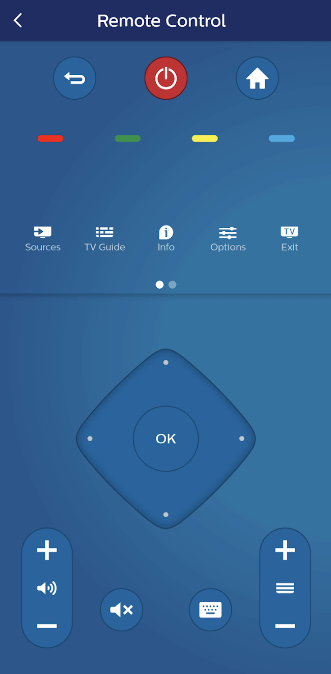
Philips TV Remote is an application to control your Philips TV from an iOS or Android device. To connect your Philips TV to WiFi, you must have at least two smartphones. Follow the instructions given below to set up and use Philips TV Remote App.
1. Install the Philips TV Remote app on your first smartphone from Google Play or App Store.
2. From the second smartphone, go to Settings and turn on the WiFi Hotspot.
3. Ensure to rename the Mobile Hotspot and change its password to the same as the old WIFI network.
4. Connect your first smartphone to this WiFi Hotspot.
5. Turn on your Philips TV and open the Philips TV Remote app on your smartphone.
6. Your Philips TV will be connected to this WIFI hotspot automatically as it has the same WIFI name and password.
7. On your smartphone, select your Philips TV once it is detected.
8. Finally, use the remote control to connect your Philips TV to WIFI.
Note: Similarly, you can change the source on Philips TV without a remote with the help of this application.
Connect Philips Roku TV to WiFi Using IR Remote App
If your smartphone has an IR blaster by default, you can control Philips TV using an IR blaster remote app. Remote for Philips Smart TV is one of the best remote control apps for Philips TV available on the Google Play Store. Simply install the app on your smartphone and start using it as a remote control. Then go to Network Settings and connect your Philips TV to a WiFi network.
Connect Philips TV to WiFi Using Google Assistant
If you have enabled Google Assistant on your Philips Smart TV, you can easily connect the TV to the WiFi using voice commands. No matter what OS your Philips TV runs, you can easily set up Google Assistant from scratch within a few minutes. If you’re Philips Smart TV is incompatible with the Voice feature, you can jump to the next alternative method.
Tip: Remember that, Google Assistant will only work if your Philips TV has internet access.
How to Connect Philips TV to WiFi With Universal Remote
If you feel the Philips Smart TV remote is expensive or if you aren’t tech-savvy, you can buy a universal remote. You can purchase a universal remote for Philips TV at a reasonable price on Amazon. Some replacement remotes can even work using an IR blaster. With IR-based remotes, you can control multiple Philips Smart TVs, such as LCD, LED, and 4K UHD. However, to use a universal remote, you need to program it using Philips TV remote codes.
Frequently Asked Questions
Press the Home button on the remote. Scroll to the bottom and click on Settings. Further, select Wireless and networks. Under this section, choose Wired or WiFi. Next, click on Connect to Network → Wireless and then press OK. From the list of networks, select your WiFi network. After that, enter the password to connect.
Unplug the cord of the Philips TV from the source. Leave it for a while, for about 30 seconds. Then plug the cable back in. Meanwhile, you should restart the router to fix internet connectivity issues. If necessary, you can reset Philips TV to bring it back to its initial settings.
If your Philips Smart TV isn’t connecting to a WiFi network, ensure that the router and TV are near each other. Also, check whether have entered the correct password to connect to WiFi. If your WiFi isn’t visible, restart your Philips TV and router, and try connecting again.