
When your Roku remote has a blinking green light, you may be in chaos as to why it occurs. The green light on the remote indicates that it is trying to pair with your Roku TV or device. If the blinking light doesn’t stop, it means that there is a connectivity problem. In rare cases, the remote may get stuck in pairing mode so the Roku remote won’t work at all. If you encounter this issue, we recommend following these troubleshooting methods to resolve it immediately.
Reasons for Roku Remote Blinking Green Light
If the green light starts blinking on your Roku remote, it is due to the following reasons.
| SCENARIO | REASONS |
|---|---|
| 1 | In case the Roku remote batteries are running out of charge |
| 2 | If the Roku remote and your device are not synced with one another |
| 3 | Sometimes the green light starts to blink if the remote has physical damage |
| 4 | Due to obstructions by any object between the remote and the TV sensor |
| 5 | If you have pressed and held the reset button on the Roku remote for too long |
| 6 | Due to a technical glitch in the remote or on your Roku TV or streaming stick |
Note: If the red indicator light flashes continuously, it is an indication that the Roku device is overheating and it needs to be turned off immediately.
How to Fix Roku Remote Blinking Green Light
Follow these troubleshooting measures in no particular order to fix the Roku remote blinking green light.
Replace Remote Batteries
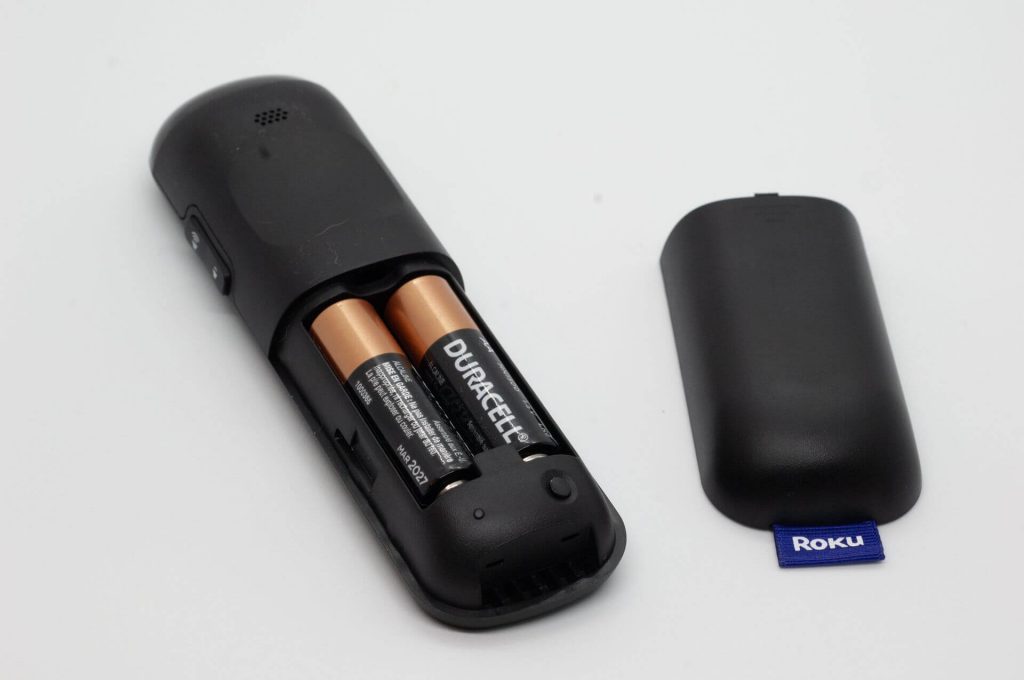
First of all, remove the old batteries from the Roku remote and replace them with new batteries. Before you insert new batteries, wait for about 10 seconds and then do it. You have to use branded AA batteries like Duracell, Energizer, or Panasonic. After that, check if the green indicator light on the remote has stopped blinking.
Note: Learn diagnosing methods by checking our guide on the Onn Roku TV remote not working if you have issues controlling the Onn Roku TV with your remote.
Clean the Roku Remote
Ensure the Roku remote you use is clean and free from dust. A high accumulation of dust in the remote has the chance of making hindrance in the performance of the remote. If you find dust stagnating in the battery compartment or beneath the buttons wipe it out with a cloth or cotton swab. You can use a microfiber cloth by dipping it with 99% isopropyl alcohol for best results in cleaning. Once done, press any button on the Roku remote to check if it works.
Replace Remote Sensor
Sometimes if the IR blaster is faulty, it might not send commands to your Roku TV or streaming device. In such cases, you can contact Roku technical support and get guidance in replacing the sensor. If it isn’t possible, you should purchase a new Roku remote. Further, you can check our guide on How to pair the Roku remote to set it up from scratch.
Check the Internet Connection
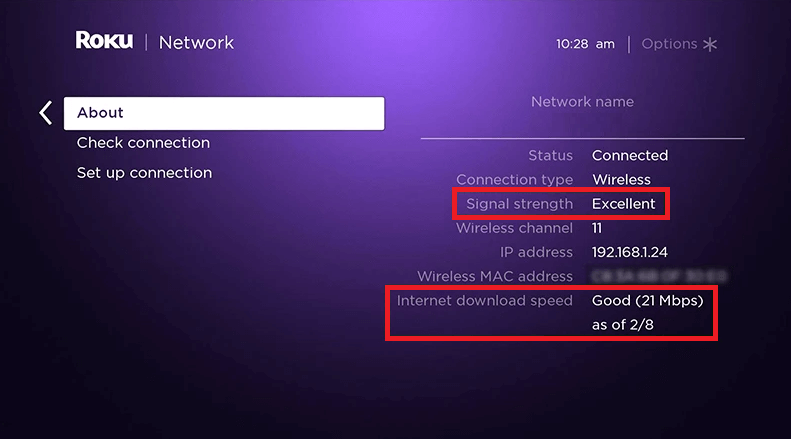
If your WIFI is unstable, it will lead to remote pairing issues. As a result, you will see a green light on the Roku remote. So you have to check whether the signal is active or not.
1. Go to Settings on your Roku-connected TV.
2. Click on Network → About.
3. It will display the connection details on the TV screen. Check the signal strength and the internet download speed.
4. For more details, click on Check Connection.
Note: If you haven’t connected your device to an internet connection, go through our detailed guide to connect Roku to WiFi without a remote.
Power Cycle Roku
Power cycling is very effective in resolving internal errors, bugs, and others by the Roku device. As a result, you can fix the remote light blinking issue.
1. Remove the batteries from the remote compartment.
2. Turn off the Roku device and unplug its cable from the outlet. You should not turn off your smart TV.
3. Next, insert the new batteries back into the remote.
4. The green light starts flashing on the Roku remote.
5. Then plug the Roku device into the Power outlet and switch it on.
6. Proceed to pair the Roku remote with your TV.
After pairing, check whether the remote green light has stopped blinking.
Restart Roku
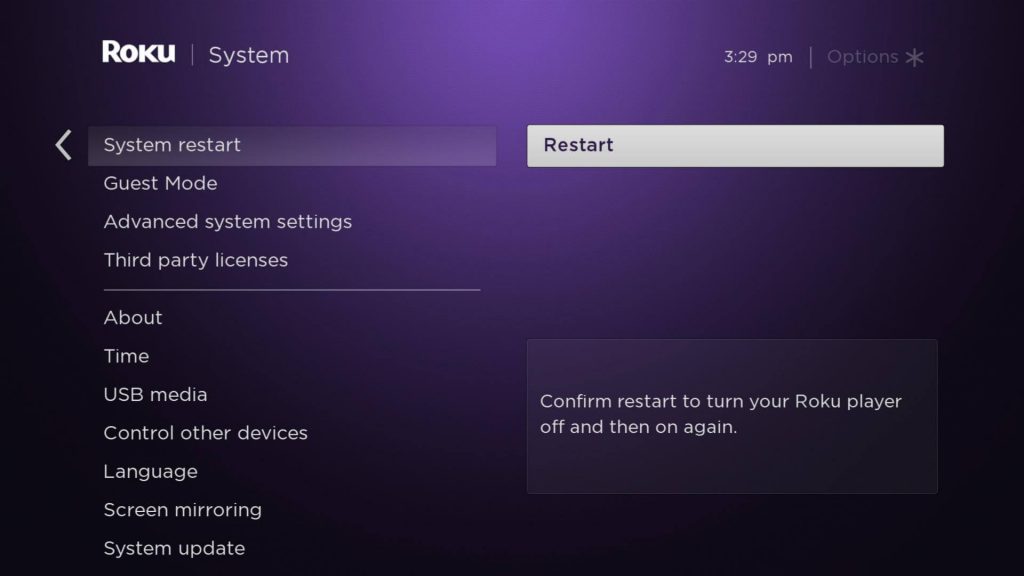
A simple restart can fix unknown errors, including remote light blinking issues.
1. Go to Settings using the Roku app as a remote control.
2. Click on System → System restart.
3. Lastly, tap Restart.
This will take a few minutes to complete.
Note: If you see a blinking red light on Sony TV, it indicates there is some issue. You can fix such problems by power cycling the Sony TV, resetting to factory settings, or updating the Sony TV.
Factory Reset Roku
Factory Reset is a good option to get back your Roku default settings. It will immediately resolve the remote pairing issues. As a result, it will erase all the modifications that you have done in recent times. Locate the reset button of your Roku device.
- Basically, the reset button is located on the back or underneath the Roku device.
- If there are no buttons, insert a pin in the hole and keep hold of the Reset button for 10 seconds.
- Lastly, the remote light will blink continuously to indicate that the reset is done.
Here are the instructions to factory reset using the Roku app.
1. Press the Home button on the Roku app.
2. Next, click on Settings from the home screen.
3. Further, choose the System option.
4. Following that, click on Advanced system settings and then choose Factory reset.
If you are using a Roku TV, click on Factory reset everything.
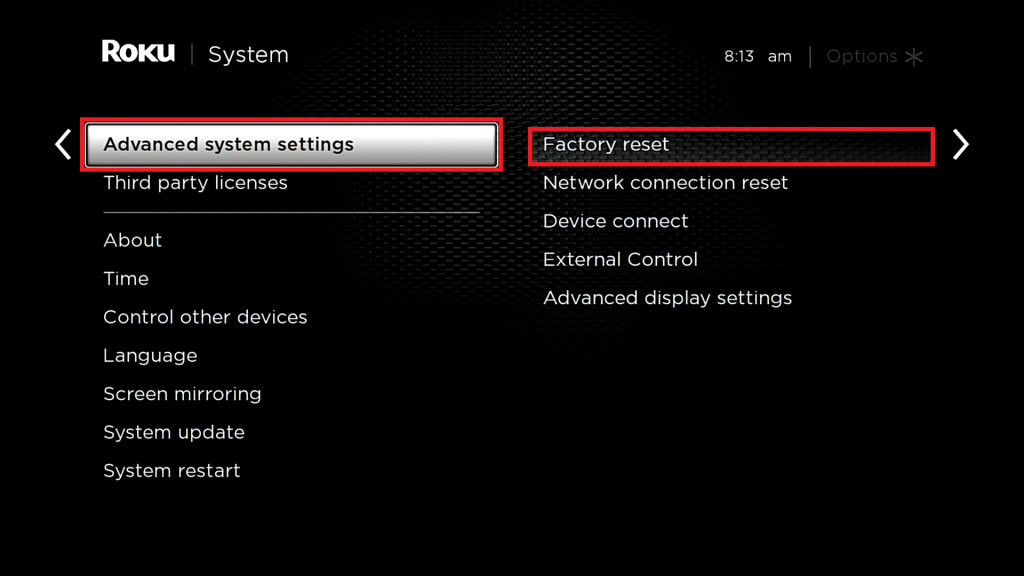
5. Continue with the on-screen instructions to begin the reset.
Reset Roku Remote
If the Roku remote doesn’t work even after resetting your Roku streaming device, then you should prefer factory resetting your remote. Resetting a Roku remote isn’t a tedious process.
1. Remove the batteries from the compartment.
2. Next, long press the Power button on the Roku remote for about 10 seconds.
3. Doing so will drain the stagnant power in the remote.
4. Insert the batteries back into the compartment.
Point the remote towards Roku and check whether it is working now.
Re-Pair the Roku Remote
There are two ways to pair the Roku remote. You can pair the Roku remote by visiting the TV settings.
1. Using the Roku app, go to Settings.
2. Then select Remotes & Devices.
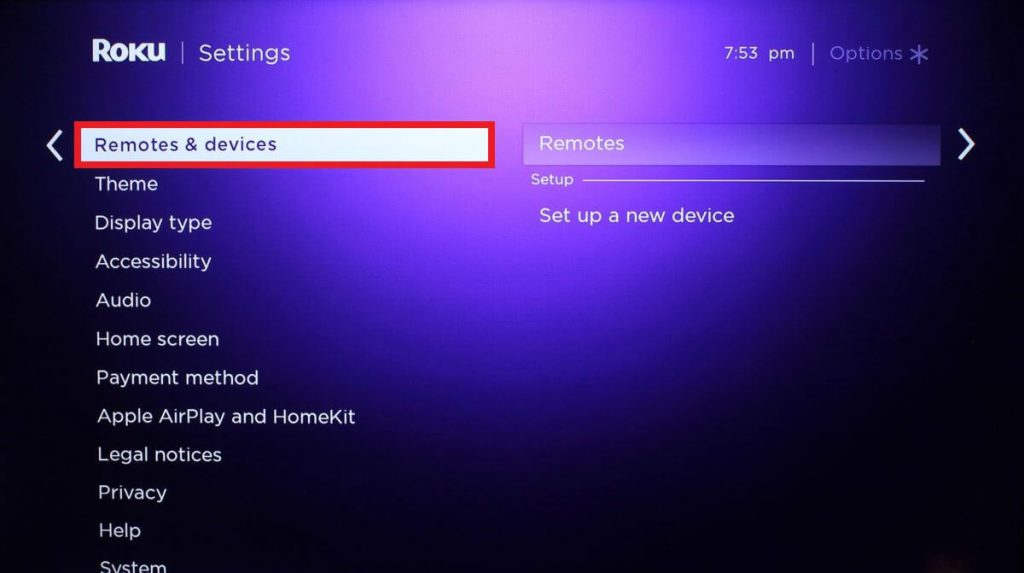
3. After that, click on Pair new device/Set up a new device.
4. Lastly, click on Remote.
5. Then follow the on-screen instructions to finish remote pairing.
6. Insert the new batteries into the Roku remote.
7. Press and hold the Pairing button for about 5 seconds.
The pairing button is located on the Roku remote’s battery compartment.
8. Lastly, your TV starts pairing to the Roku remote automatically.
Use the Roku App
If the remote has become faulty, you can install The Roku App and use it as a remote control. The Roku App is available on the Play Store and App Store.
1. Install the Roku app on your smartphone from the relevant store.
2. Open the Roku app.
3. Sign in to your Roku account with valid credentials.
4. Click on Devices → Select your Roku device.
5. Once connected, click the Remote icon to view the remote control.
Start controlling your Roku device from your smartphone using the Roku Remote app.
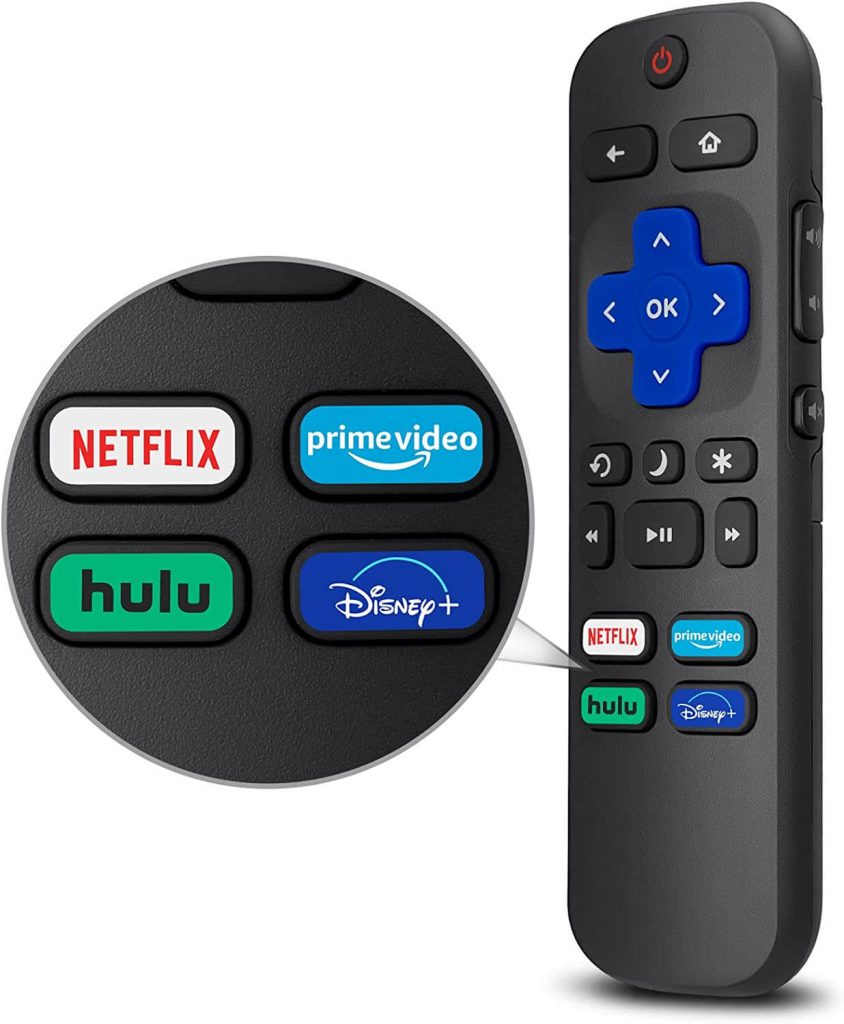
Purchase a Replacement Remote
If you need something better, you should buy a Roku replacement remote. These remotes are comparatively cheaper and offer more features than the original remotes. We recommend users use the LOUTOC universal TV remote compatible with all Roku TV models. You can operate this remote from a distance of up to 26 feet.
Frequently Asked Questions
If you see a yellow light on the Roku remote, it means it has an issue while pairing the remote with the set-top box. In this case, you can fix the issue by resetting the Roku device. Make sure to replace remote batteries if they are too old.
When you haven’t placed the batteries in the correct position, you may find the Roku TV remote not working as expected. Take out the batteries and reinsert them again after a few seconds. Also, ensure the battery compartment is clean.