
Key Notes
- Via TV Panel Key: Press the Input/source button on the RCA TV to change the input without a remote.
- Change Input on RCA TV Manually: Press Menu button → Choose Label → Select Input 1 or 2 → Go to the channel → Press CH+/- and P+/- buttons → The respective channel is selected as input.
- Setting a Timer: Turn on a timer and switch to the first channel on RCA TV to change the source.
- The Roku App: Open the app → Sign in → Devices → Remote → Settings → TV inputs → Select Input.
- Google TV App: Open the app → Sign in → TV Remote → Select RCA TV name → Enter code → Click Pair → Go to Inputs → Select input.
- Connect a keyboard or mouse to an RCA TV and change the input conveniently.
- Use Alexa or Google Assistant to change the source on RCA Smart TV.
Changing the input on RCA TV is a no-brainer if you have a remote control. But at times, you may find the RCA TV remote control not working because of weak batteries, physical damage, etc. Nonetheless, you can use TV panel buttons, a remote app, a wireless keyboard, or a voice assistant to change the input on RCA TV without a remote.
This article describes the possible techniques to change the input on the RCA TV without a remote control.
Use Physical Buttons to Change Input on RCA TV
Most RCA TVs have physical keys on the front or left side of the frame. By pressing these keys, you can access the TV settings, adjust the volume, change TV channels, switch the input, etc. The keys to change the HDMI will be labeled as INPUT or SOURCE based on the television model.
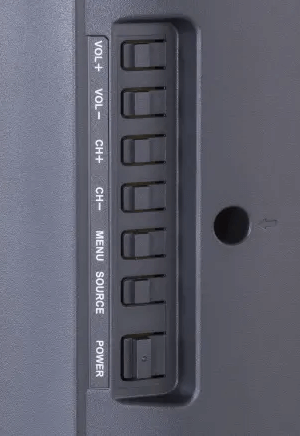
Once you have identified the input/source button, click on it. Now, you will get multiple options on the TV screen. Select the appropriate input that you want to change.
Note: You can press the POWER key on the TV panel to turn on the RCA TV without a remote.
Alternate Way to Change Input on RCA TV Manually
If your RCA TV has no input button, you can use the following ways to change the source.
1. Press the Menu button on the RCA TV panel.
2. Then select the Label option from the list.
3. Further, set the Input 1 or 2 by selecting the channel of your choice.
Note: For instance, you can set Input 1 to channel 43.
4. Press the CH+/- and P+/- buttons simultaneously to change the input source.
5. It will automatically change the input source to channel 43.
Set a Timer to Change Input on RCA TV
The timer is a useful feature available on some RCA TVs. Follow these steps to change the input on RCA TV using a timer.
1. If you set the timer for 3 minutes and turn OFF the TV, it will turn ON after 3 minutes. It is possible only if the TV is connected to the source.
2. Set the timer ON for 1 minute and switch to the first channel of the input. Press the physical buttons on the TV to set the timer.
3. Turn off the RCA TV by pressing the TV power button.
4. After a minute, the TV will turn on automatically per the timer.
5. Notably, you can notice that the input will be switched.
Use The Roku App to Change Input on RCA Roku TV
If you have an RCA Roku TV, use The Roku App as a remote control to change the input. The Roku App will work only if you connect the RCA TV and phone to the same WiFi network.
1. Install The Roku App on your device from the relevant store.
2. Open The Roku App on your Android or iPhone.
3. Sign in to the Roku account to continue.
4. Tap Devices in the bottom tab and select RCA Roku TV to pair.
5. Press the Remote icon to access the remote control.
6. Go to the home screen of RCA Roku TV and click Settings.
7. Select TV inputs and choose the Input from the options.
8. Click Set up input to switch the source.
Use the Google TV App to Change Input on RCA Android TV
If your RCA Smart TV runs with Android TV OS, you can use the Google TV remote app to change the input.
1. Connect the RCA Android/Google TV and phone to the same WiFi network.
2. Open the Google TV app on your Android or iPhone.
3. If prompted, sign in to your Google account to proceed.
4. Tap the TV Remote icon at the bottom of the remote app.
5. Select the RCA TV name from the listed devices.
6. You can see a pairing request with a code on the RCA TV screen.
7. Enter the code, click Pair, and use your phone as a remote control.
8. Click the Inputs icon on the RCA TV home screen.
9. Select the Input you want to use.
Note: If you have an RCA Smart TV running webOS, use the LG ThinQ app as a remote control.
Use a Keyboard/Mouse to Change Input on RCA TV
Like operating a PC, you can connect a keyboard or mouse to an RCA TV and control it effortlessly. It helps to change the input on RCA TV without a remote. Since it has dedicated USB ports, You can connect a wired or wireless keyboard/mouse to your RCA Smart TV. For 2-in-1 purposes, we recommend using the following keyboard as it features a built-in mousepad.
- Logitech K830
- Logitech K400
Use a Voice Assistant to Change Input on RCA Smart TV
RCA Smart TV supports voice commands, which can work by connecting the TV and smartphone to the same WiFi. To change input on RCA Android/Google TV using Google Assistant, open the Google TV app on your phone. Select TV Remote, choose RCA Smart TV, and follow the on-screen guidelines to pair. Once paired, touch the Google Assistant key in the remote app. Say, “Hey Google, switch input to HDMI 1“.
If you have an RCA Roku TV, you can use The Roku App (Official) to change the TV input with a voice command. Connect the phone and RCA Roku TV to the same WiFi. Run The Roku App on your phone and click Devices. Choose your RCA Roku TV to pair and click Remote. Press the microphone button in the remote app. Say, “Switch input to HDMI 2.”
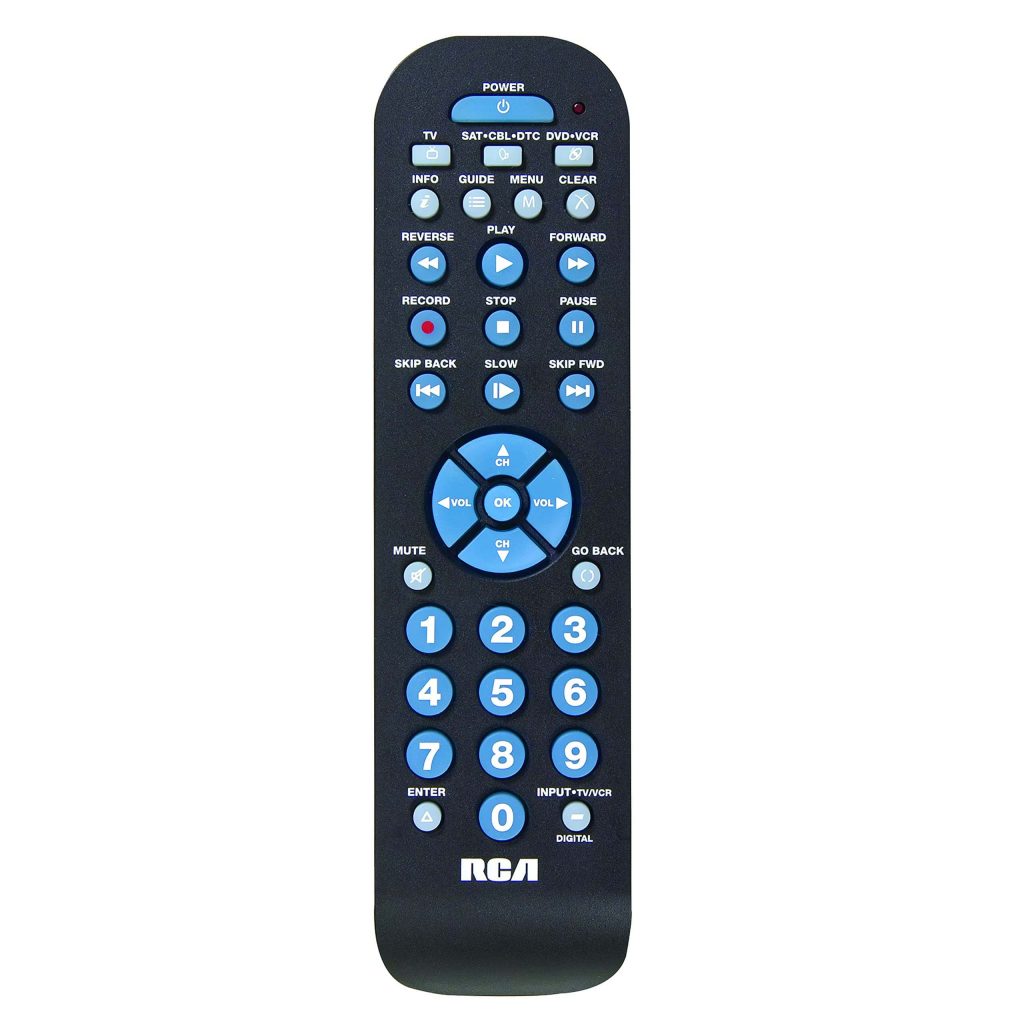
Buy a Universal Remote
If you want to change the input on RCA TV without buttons or a remote app, buy a new universal remote. You can buy this remote on e-commerce websites like Amazon and Walmart. So, controlling your RCA TV is not a big deal. But you should program an RCA universal remote to the TV to use it. For this purpose, you need to know the RCA TV universal remote codes. Once done, press the INPUT-TV/VCR key on the universal remote to change the source.
Frequently Asked Questions
Remove the power cable of the RCA TV and keep it unplugged for 60 seconds. Press the Power key for 30 seconds to power reset the RCA TV. Then, plug the power cable back into the wall socket and turn it on.
Yes. You can use the physical buttons or the IR blaster remote app to change the input on the old RCA TV.
Use voice commands in the remote app or connect a keyboard to change the TV input.
Use the TV’s physical buttons to change the input on the old RCA TV.